Fediverse.Party and Fediverse family present 🎄
(for children aged 3 to 103)
Missing the joy of winter holidays? In search of small DIY tasks to relax and put you in the right mood? Not sure how to tear your kids away from a TV screen? We’ve got you covered! 👍
Let’s create a proper Fediverse atmosphere by making paper toys together!
This wonderful idea first came to @Poudingue when they posted a template of an adorable paper Mastodon.
 Mastodon by @Poudingue, image by the author of the toy
Let’s start with Mastodon. Download the template here.
You’ll need:
- scissors, cutter
- glue
- printer
- optionally, a pencil (or anything sharp to make wholes) and thread (if you wish to put your toys on an Xmas tree)
- optionally, some working surface where you can cut without being afraid to skretch the table
- a bit of patience
If your printer is black-and-white, let it not stop you. Paper toys look fine even without colour!
Do not try to make a perfect toy. We’re having fun! It doesn’t matter if you cut it wrong by half a millimeter! Also, you can always correct it with scissors by trimming all the small parts before glueing them together, or even after the toy is assembled.
The general rules are: cut along solid lines, fold along dashed lines. It’s useful to fold and unfold all the dashed lines before starting to glue; makes it easier to work with the template.
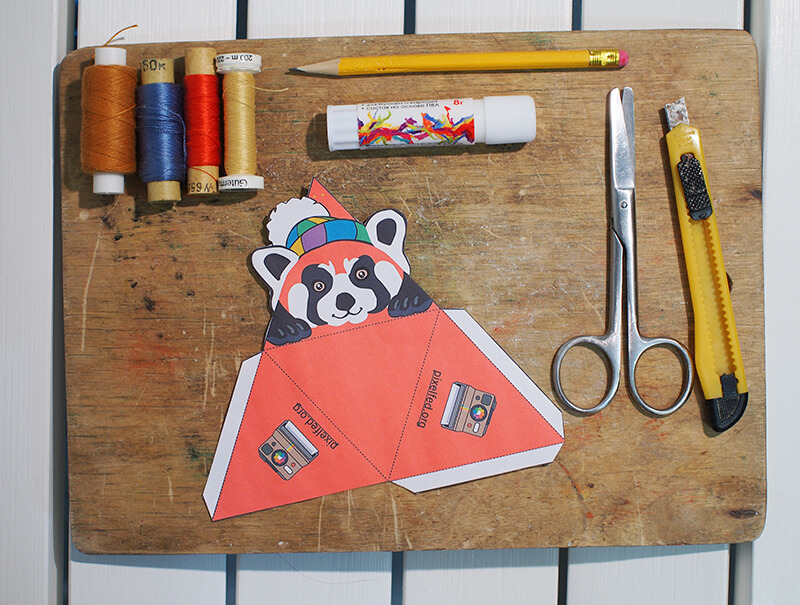
Once you’re finished with Mastodon, let’s make red panda Fred, Pixelfed’s mascot. Here’s the template. It’s an easy paper toy - no small details. Just glue all the white parts to the insides of nearby facets, and we’re done!
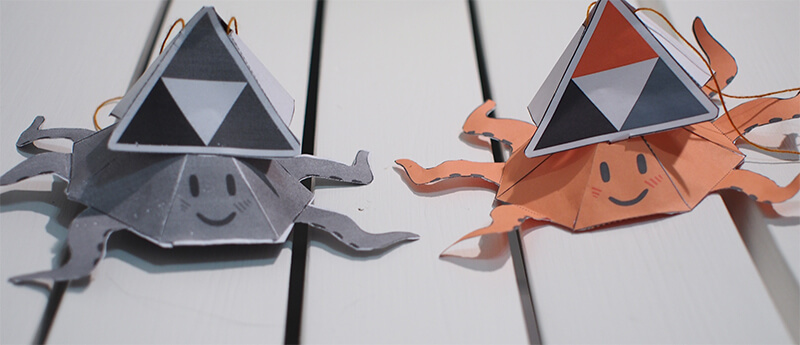
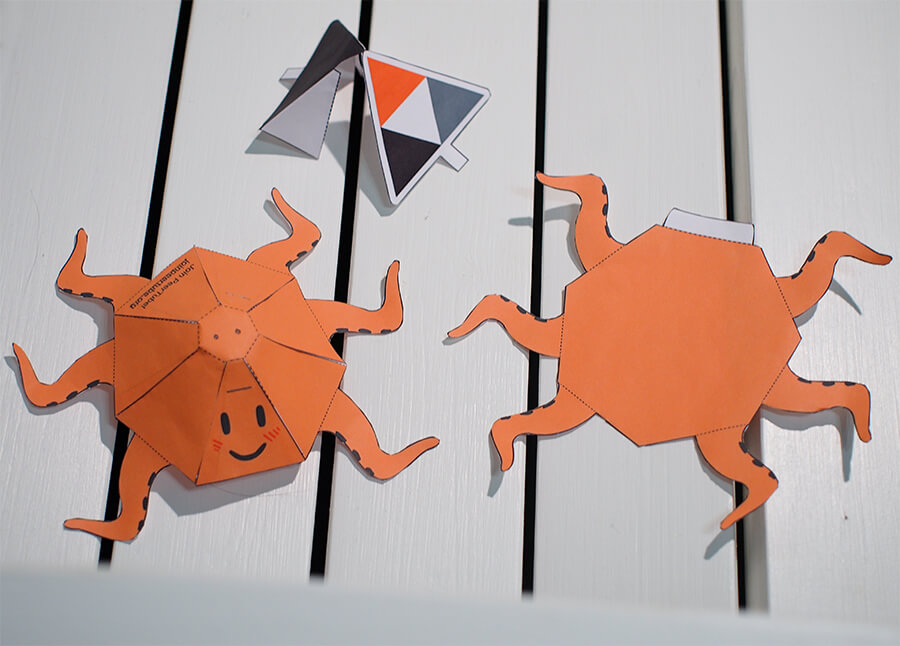
Next on our list is PeerTube’s mascot - grab the template for cuttlefish Papa Sepia: page 1, page 2.
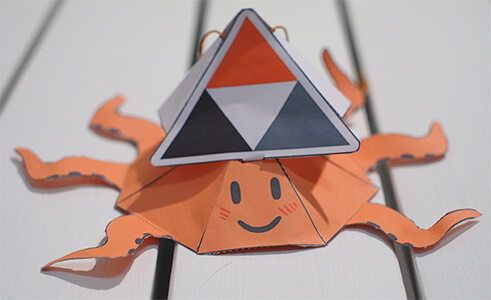
This one may take a bit more time, with all its legs! If you wish to hang the toy somewhere, remember to make two wholes and put a thread through them, before you start glueing the top of the toy to its bottom.
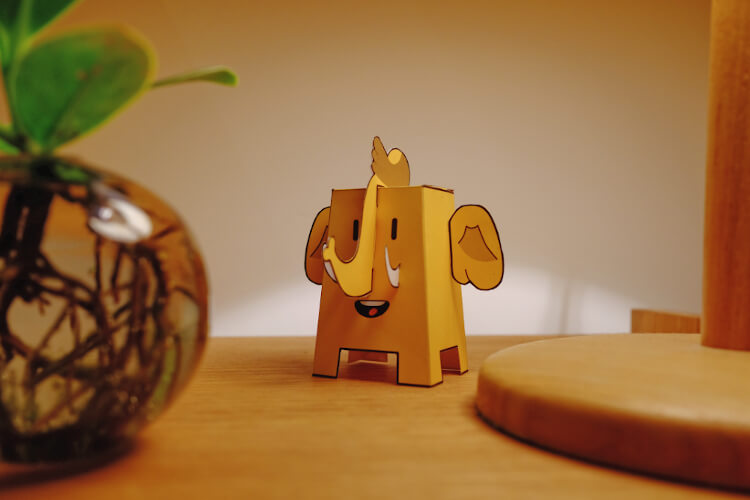
And one more toy for the final touch. Let it be Friendica’s Flaxy O’Hare. Template.
The only tricky part here is glueing the top part to the body accurately. First apply glue to the left (or right) white part of the top piece and insert it into the slit at the body side. Do the same for the other side. Now it’s easier to glue the center white parts to the body.
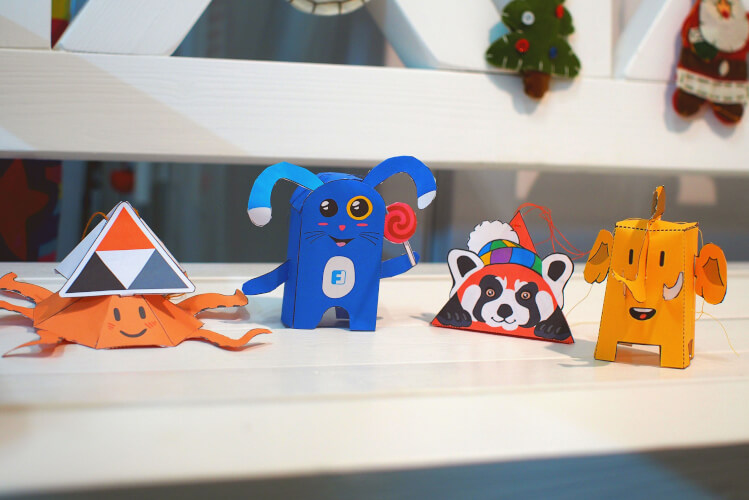
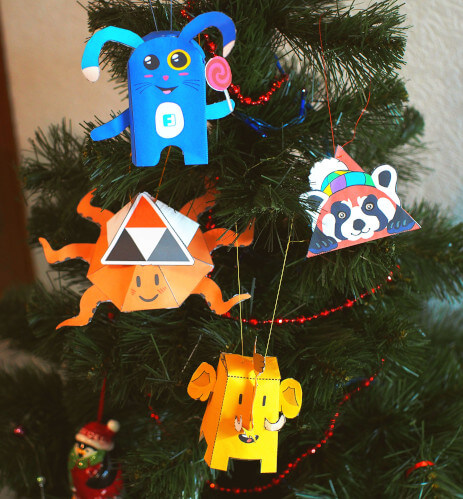
Tada! The toys are ready.
Now we can decorate our Fedi tree.
But hey, you can do lots of other things with such toys. Don’t know how to interest your friends and colleagues in federated social networks? Gift them one of these cute mascots. You can write the link to your profile at the back. Suggest your children or friends to make these toys together - they will appreciate a fun “introduction” into Fediverse world! You can decorate your makerspaces and windowsills with Fedi mascots. Finally, you can present them to strangers as a nice promotional material. You could also print stickers for this purpose - but toys will leave no one indifferent, and if you make them bigger in size, they’ll certainly attract attention.
We’ve made only four toys, yet there’re many other projects in federated universe. Have you made any templates for other Fediverse projects? Please, submit them here or send images in federated networks, and the post will be updated with your contributions.
Wish to share the photos of your own Fediverse tree and Fedi toys? Post them in federated networks under the hashtag #PaperFedi2021. 🙂
Happy holidays to all fedizens!